
A loopy box with a drawer
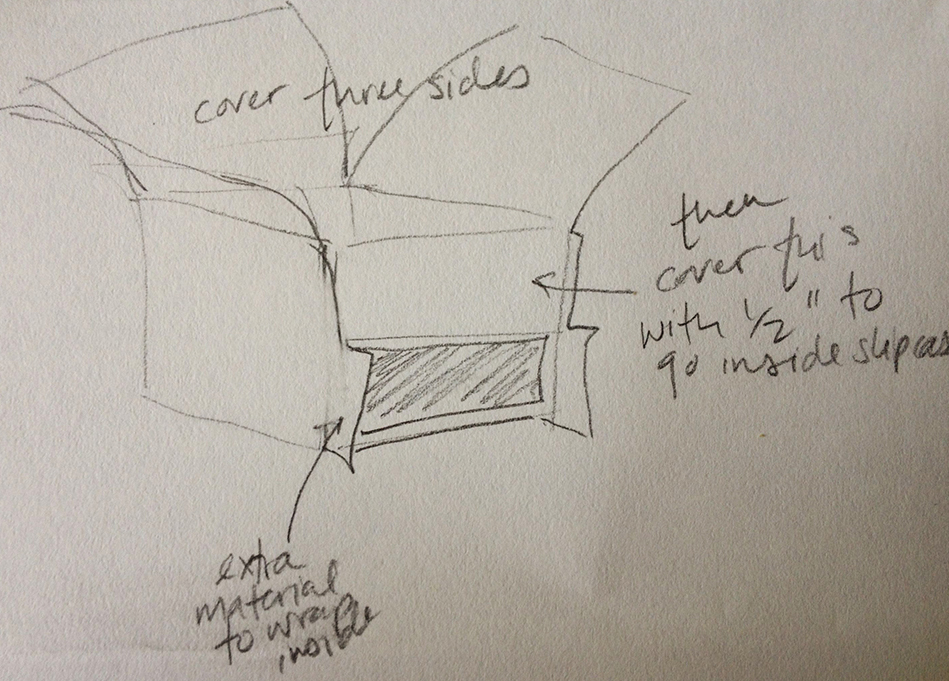
Yesterday I finally got all my paperwork in to Penland for the boxmaking class I’ll be teaching in August. It got me all in a box making mood, so I decided to spend a few hours and make a box with a drawer in it. When I am out of practice with a structure or trying something new I usually make a quick sketch to try to think out the cuts. The measuring and the sequence of covering a box is always tricky in a weirdo, loopy box like this one, but if I concentrate for a few minutes I can come up with a rough plan. This box will essentially be a complicated slip case, so I make the drawer first and I’ll build from there.
I took the following photos for my future reference. I may decide to teach this box or make a set of instructions. But hey, I have a blog, so I am putting these images up for your viewing pleasure. These aren’t step by step instructions by any means. Beware blurriness.

I take some measurements, cut down some board, and take a blurry photograph:

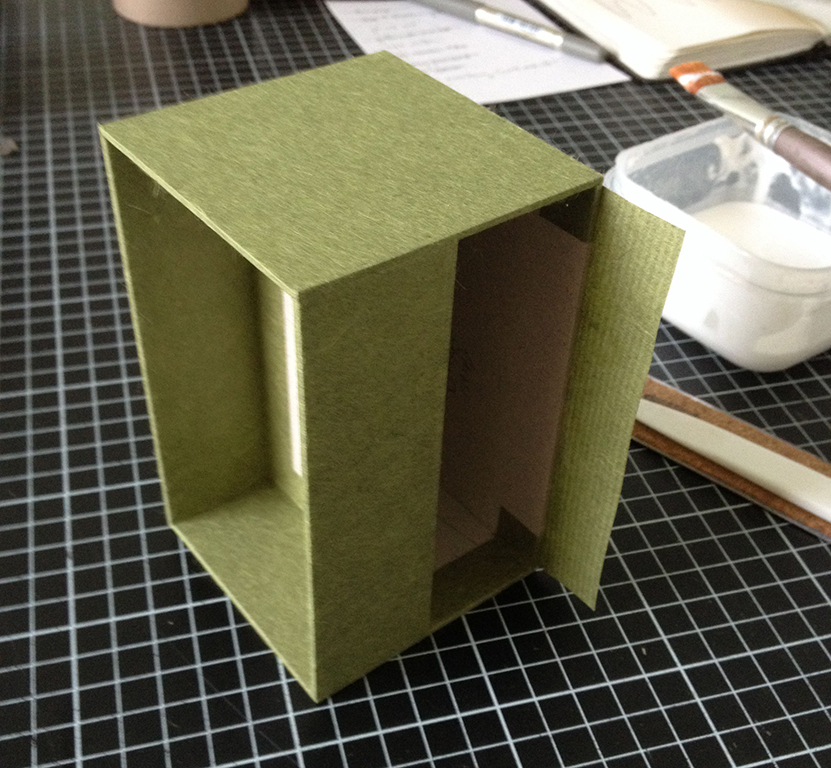
Box building commences:
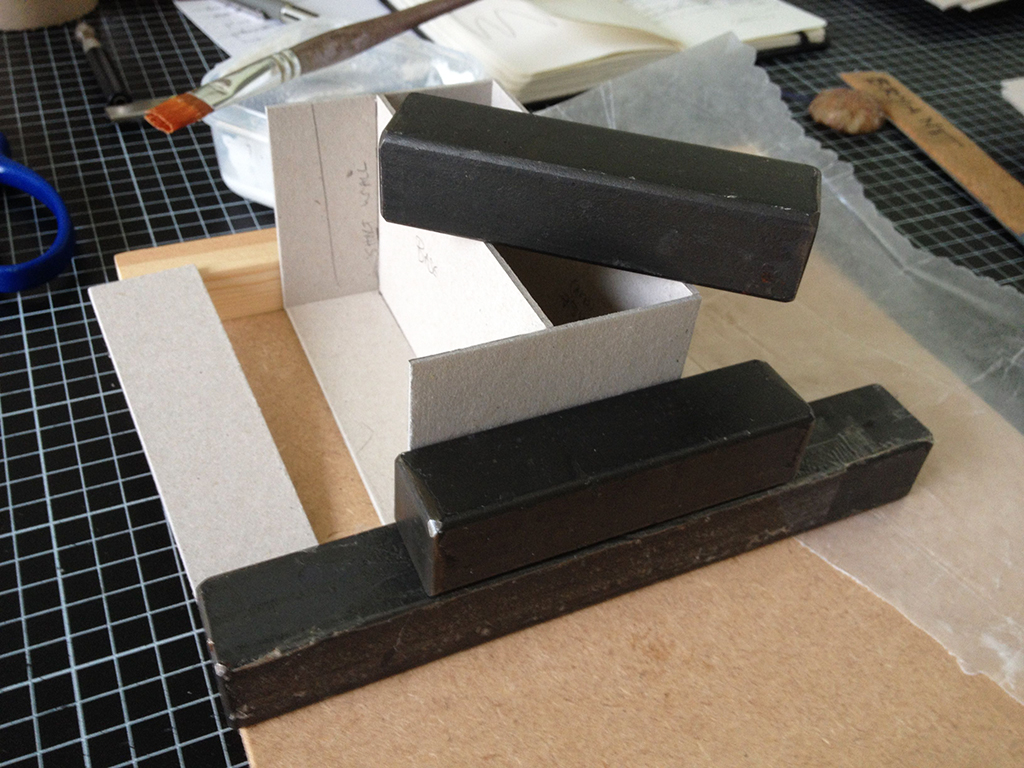
and then box covering:
Making cuts:

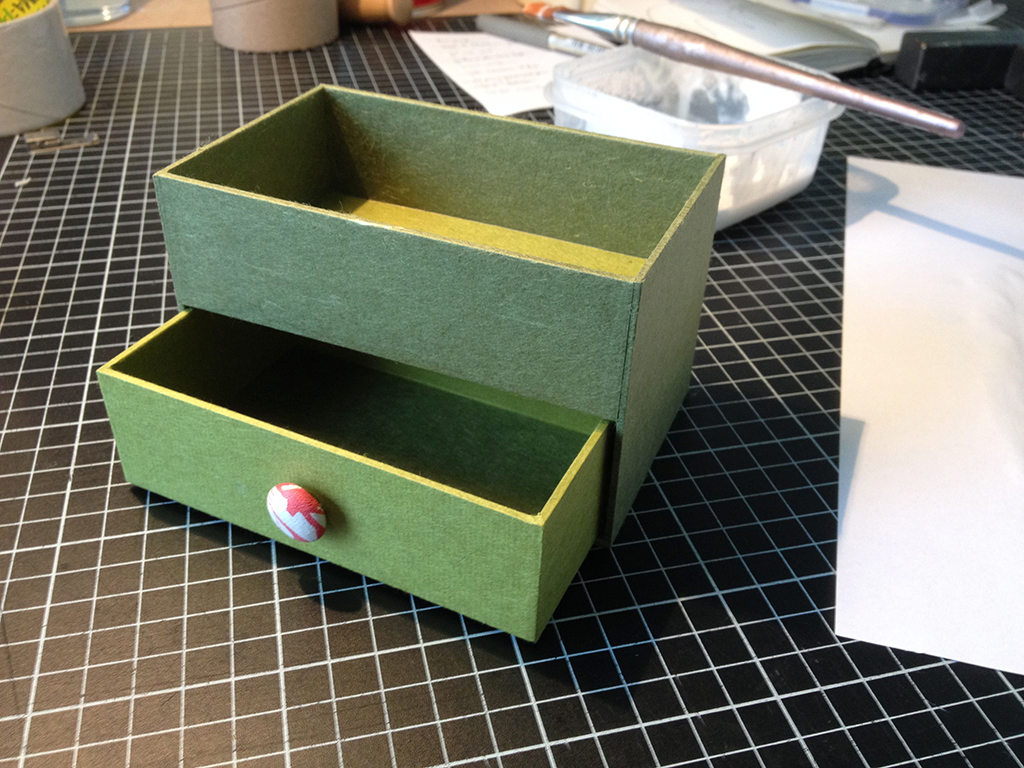
Covering the last exposed bits and pieces:
And helloooooo there!
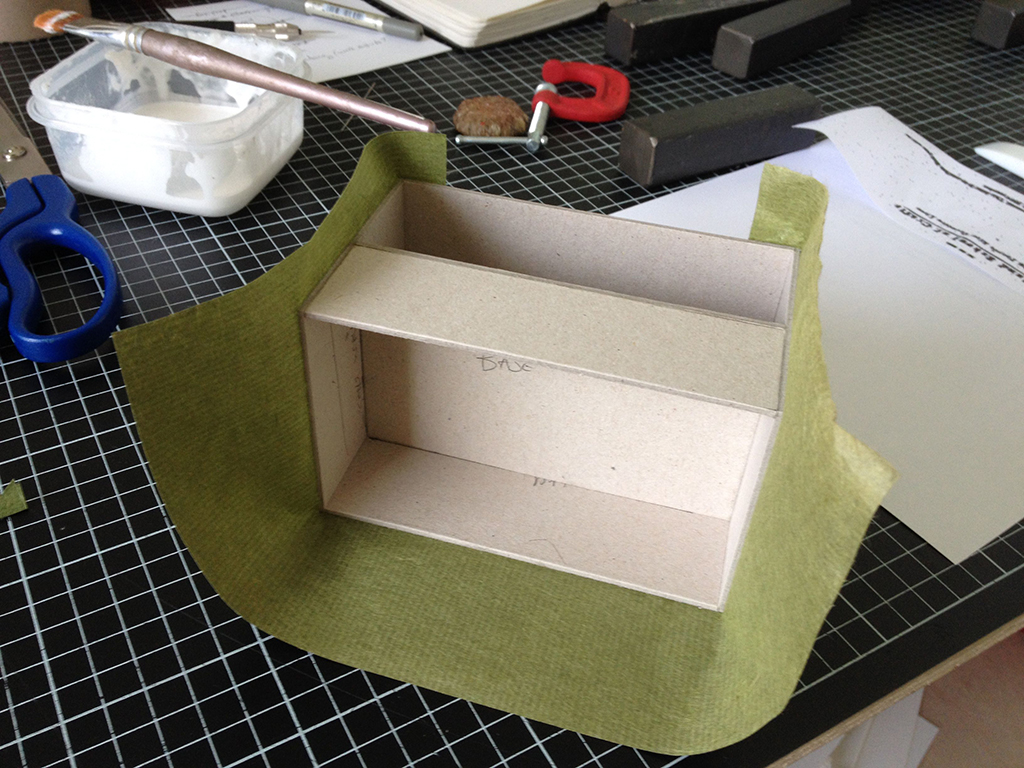
Time to make a little case. I decided to shoosh up the lid using my lucky foam trick. Plus I take another blurry photograph.

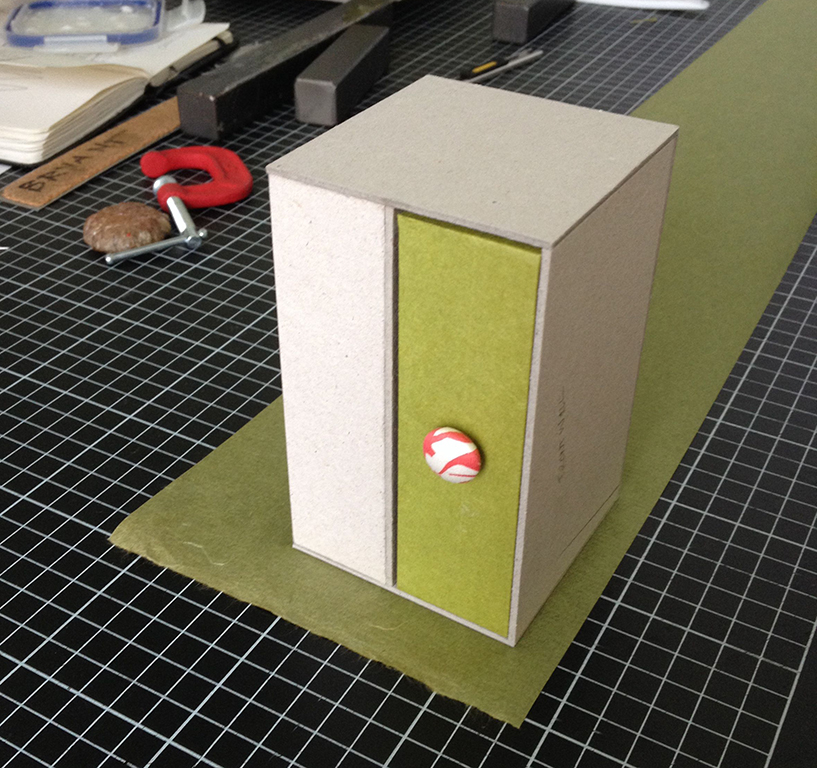
I make the case and attach it:

And here we are!
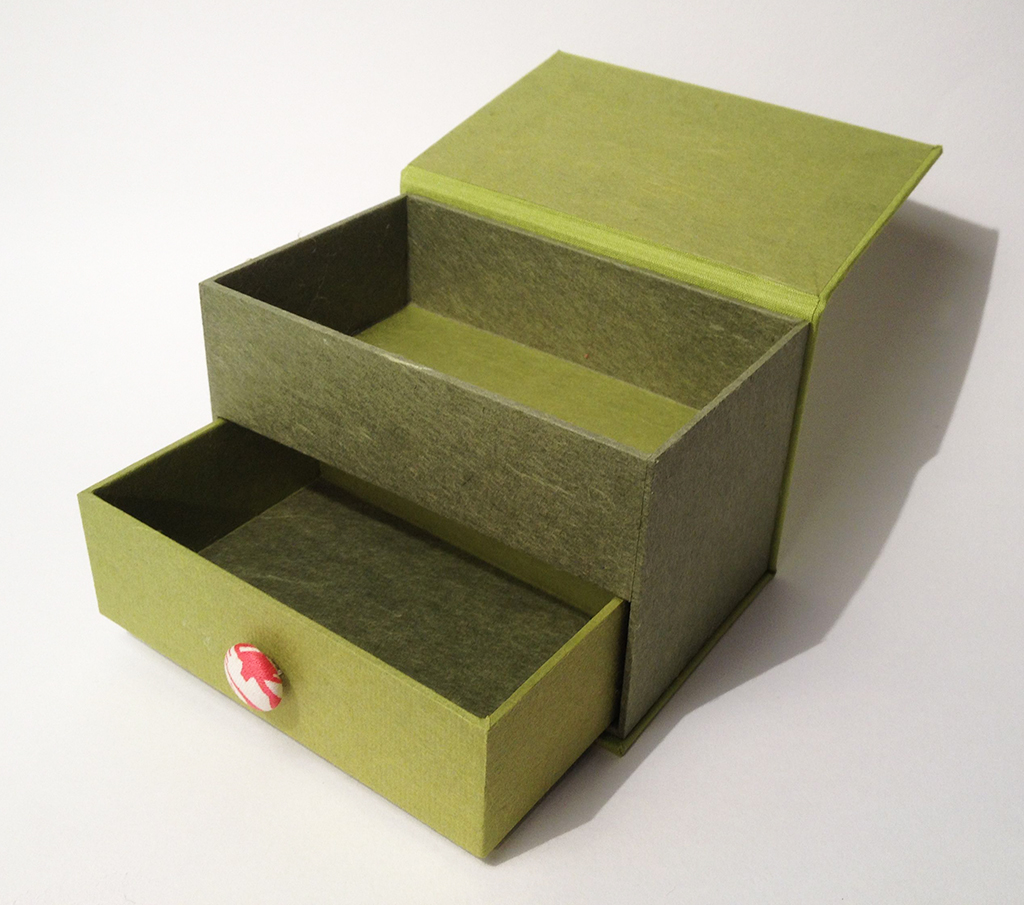
Look, here you can see the shooshiness:

As I consider this box now, I realize that it has the coloring of Kermit the Frog. But I stand by it. Will I make a handout for this weirdo thing? Perhaps. I do love making handouts after all. But for now this was just a loopy box experiment.
over and out.
17 comments on “A loopy box with a drawer”
Leave a comment


Very cool!
Lovely! You are so clever.
Hey thanks!
I love the way you brought us with you as you sketched and planned the box. That is exactly the way I do it too. Just designed a triangle and octagon box – figuring it all out is half the fun. I enjoy reading your tips and thoughts. So kind of you to share! Highest regards, Nancy
Sent from my iPad Liberty Grove Paper Arts http://www.libertygrovepaperarts.com
>
Hi Nancy, Thanks! I’d love to see your geometric box experiments sometime! I agree, I love the puzzle of it. Best wishes, Sarah
I love the Kermit the frog color, by the way. And I am energized by the way you get into a project with that fool around with the skills you have way about you. Cool box!
I never knew that “shoosh” was a technical term 🙂 I love the box! And thanks for the explanation of how you made it.
Oh yes! Although possibly it should be spelled zshoozsh. Thanks!
Oooh!
This reminds me of that crazy pyramid box I made for my final project. Do you remember it??
Of course I remember! Yes indeed! I thought of that box today. I have photos of it somewhere.
Love your boxes. I’m just getting into box making as a natural progression from book binding. Hopefully I’ll be able to make something as beautiful as this one day!
Thanks so much Rich! Good luck with your transition to box making. Beware, it is addictive. I just spent another day off on boxes. Pencil boxes with bone clasps this time. Best wishes!
please what kind of board is used to make this????
Hi Jim, I used Grayboard. Davey board and museum board (as well as a few other things) will also work.
Just found this post…the foam technique is so cool. But better than that I can now see how I need to make my double height box (one layer for the book and one with partitions for related bits) for my never ending book project…..i feel a prototype build coming on 🙂
Excellent! Good luck with your prototype! Send photos if you can!